Pen tool
The Pen tool ![]() lets you draw precise paths one segment at a time by placing anchor points and adjusting handles. It’s ideal for creating precise shapes, curves, and lines — perfect for logo design, detailed illustrations, and tracing images into vector art.
lets you draw precise paths one segment at a time by placing anchor points and adjusting handles. It’s ideal for creating precise shapes, curves, and lines — perfect for logo design, detailed illustrations, and tracing images into vector art.

- In the toolbox, select Draw
 .
. - Select the Pen tool
 , and choose a line style.
 - Click where you want to start the line segment, and then double-click where you want to end it, holding down Shift to create a perfectly horizontal or vertical line.
- To exit draw mode, select Finish in the prompt bubble.
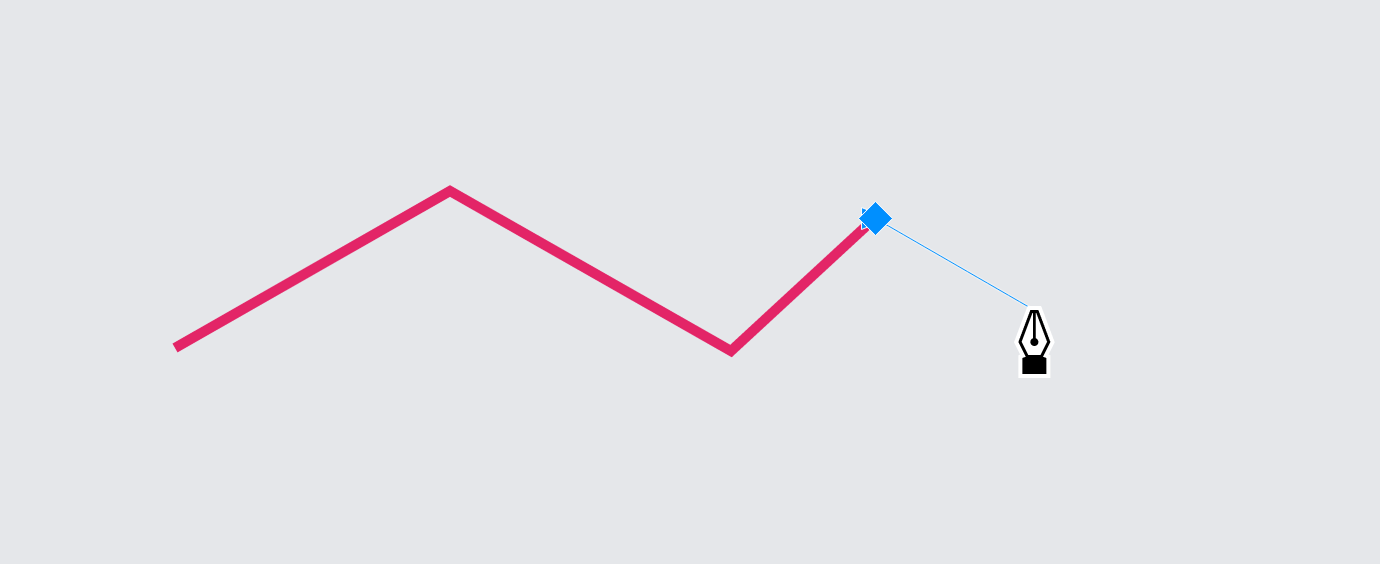
- To draw multiple straight-line segments, click to start the line segment, and then click where you want to end it. Continue clicking each time you want the line to change direction. Double-click to complete the path. To exit draw mode, select Finish in the prompt bubble.
- In the toolbox, select Draw .
- Select the Pen tool
, and choose a line style.
- Position the Pen tool where you want the curve to begin.
- Hold down the mouse button and when the control handles appear, drag to adjust the angle and shape of the curve segment.
- Release the mouse button.
- Position the Pen tool where you want to place the next anchor point.
- Repeat steps 4 to 5.
- To complete the path, double-click.
If you want to create a closed path, select Close shape in the prompt bubble.
- To exit draw mode, select Finish in the prompt bubble.

- To close an open path, double-click it, right-click an end node, and select Close curve. Only closed paths can have fills.
- To refine the path, double-click it, and use the nodes and control handles to adjust its shape. For more information, see “Edit paths.”